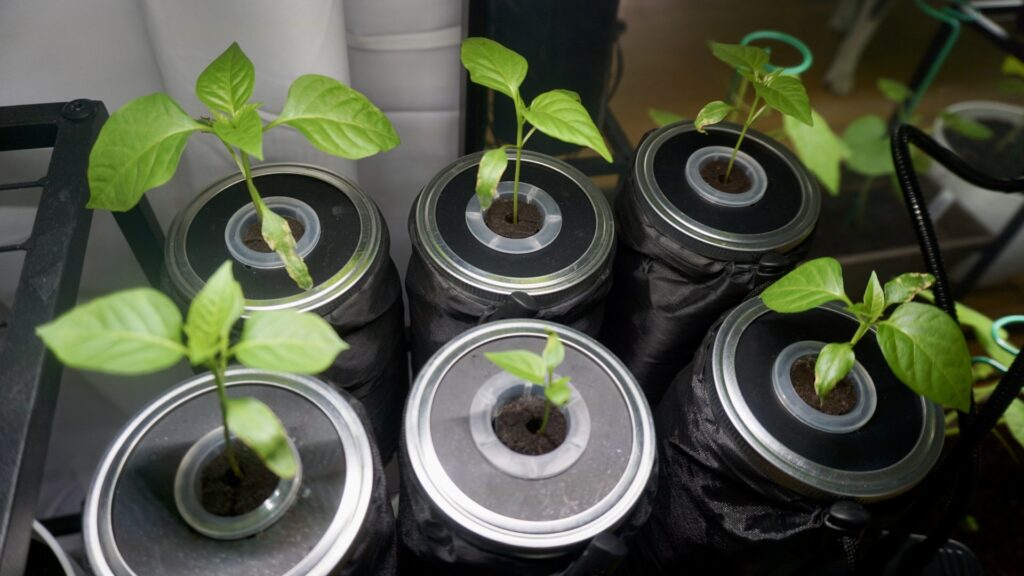
If you’re new to hydroponics like me the easiest way to begin is by using the Kratky method. This method utilizes affordable materials, does not require the use of an air filter or electricity and is for the most part hands off. All you need is a 32 (or 64) ounce wide mouth mason jar (or any container), grow sponges, domes, baskets, wide mouth hydroponic pod inserts or lids, seeds and hydroponic plant food.
What is the Kratky Method?
According to Wikipedia, the Kratky method is a passive hydroponic technique for growing plants suspended above a reservoir of nutrient-rich water. This method was created by Bernard Kratky, a researcher at the University of Hawaii. He refers to this method as “a non circulating hydroponic method.” You can read more of his research papers here.
The Kratky method is low maintenance so it’s perfect for beginners. All you need to do is add water and nutrients. Herbs tend to do very well in these jars and don’t typically need replenishing. Larger fruiting plants on the other hand do.
What you will need for the Kratky Method
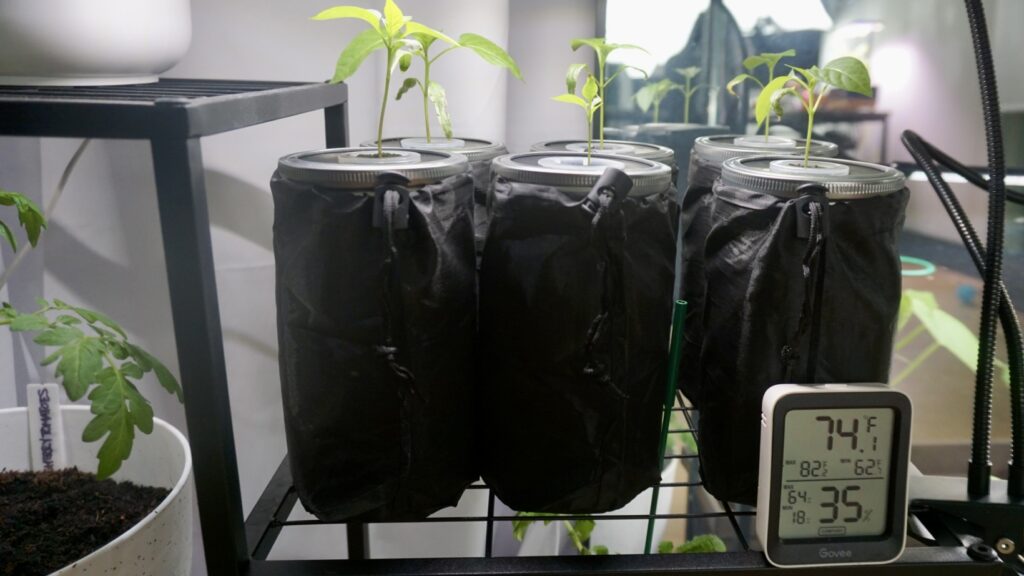
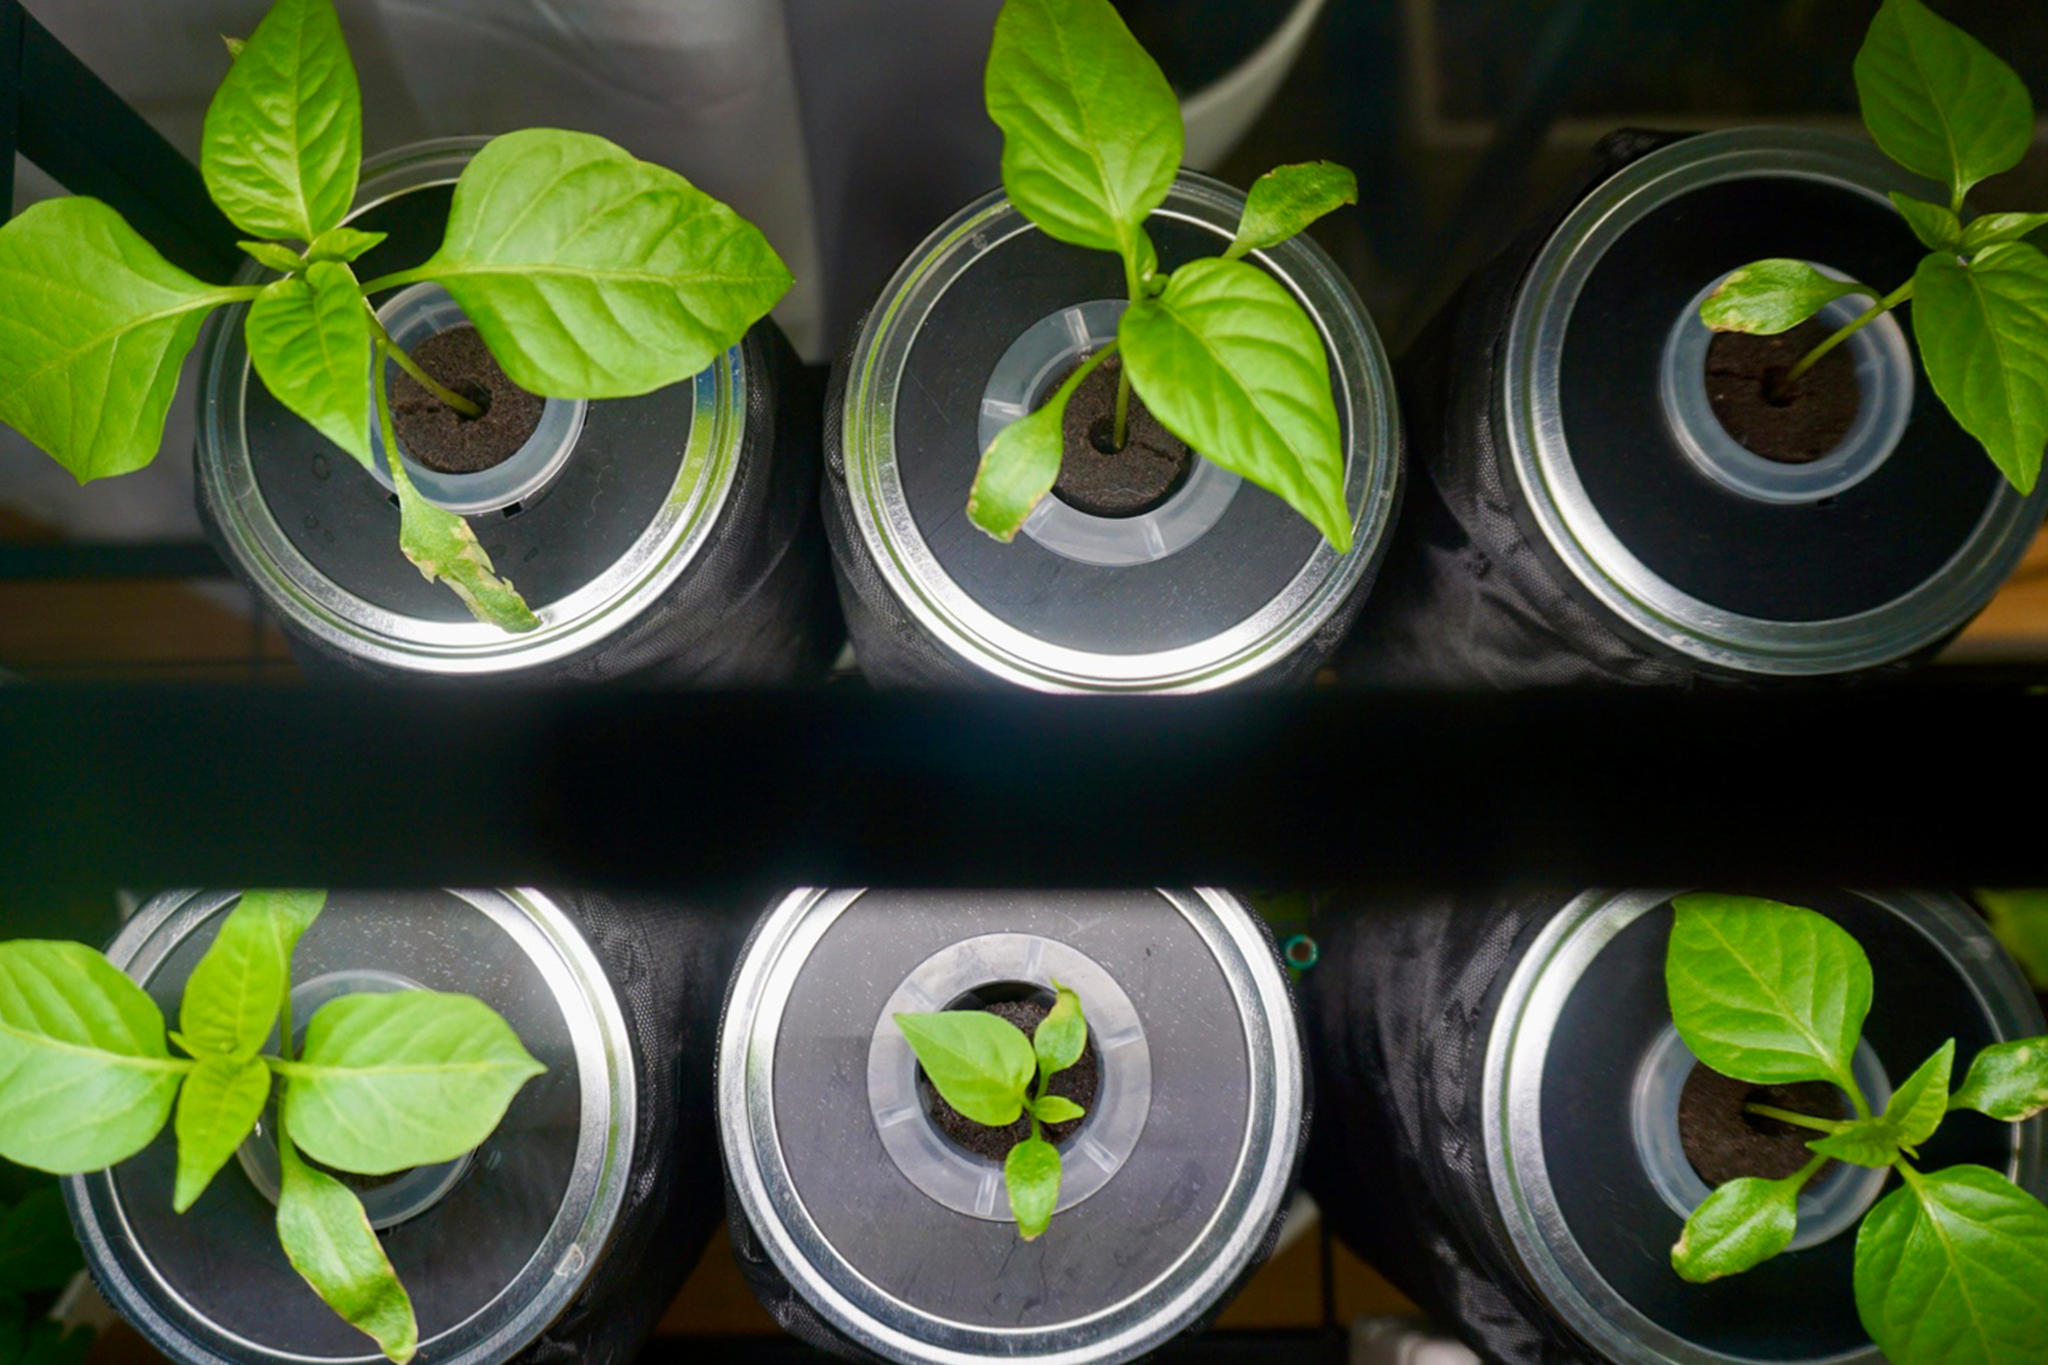
The Kratky method can virtually be used in any sized container, big or small. Lots of people take advantage of the recycled bottles they may have lying around. Get creative! If you are using mason jars though, it’s absolutely necessary to cover them with a sleeve in order to prevent algae growth. (Some people will cover their jars with foil, a black sock or will paint the outside black. You can get pretty resourceful!) That’s about the only thing to worry about as well as leaving enough room in the mason jar for the air roots. The key with the Kratky method is to make sure the roots have access to both air and water. As the plant grows the water level drops, providing the roots with more oxygen.
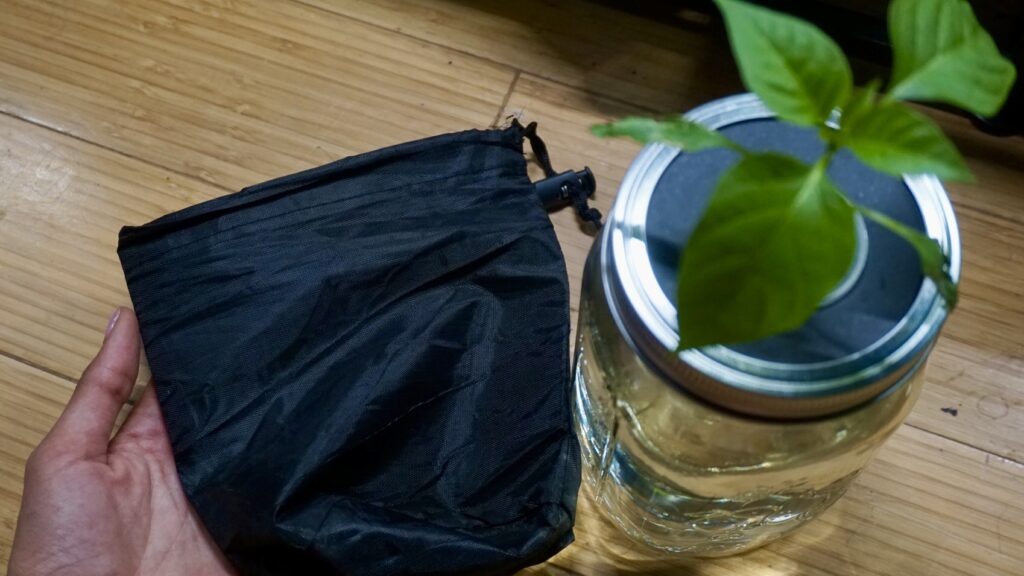
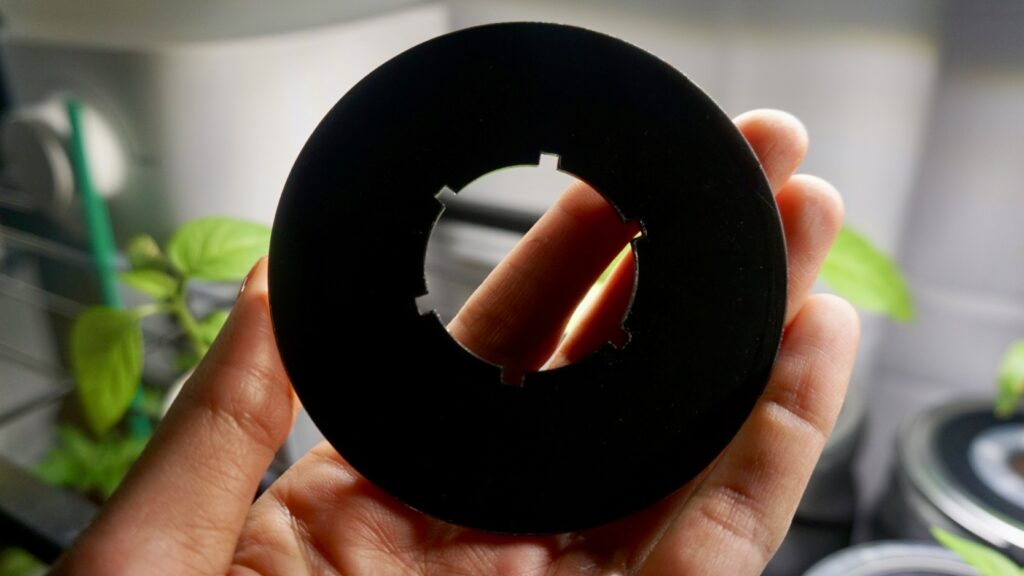
The wide mouth mason jar lids and blackout sleeves that I purchased were bundled together in a set of 12. You can buy it on Amazon here. If you’re using the 64 ounce mason jars there are no blackout sleeves available for that size so you will need to use a black sock or paint over the jar to prevent algae growth.
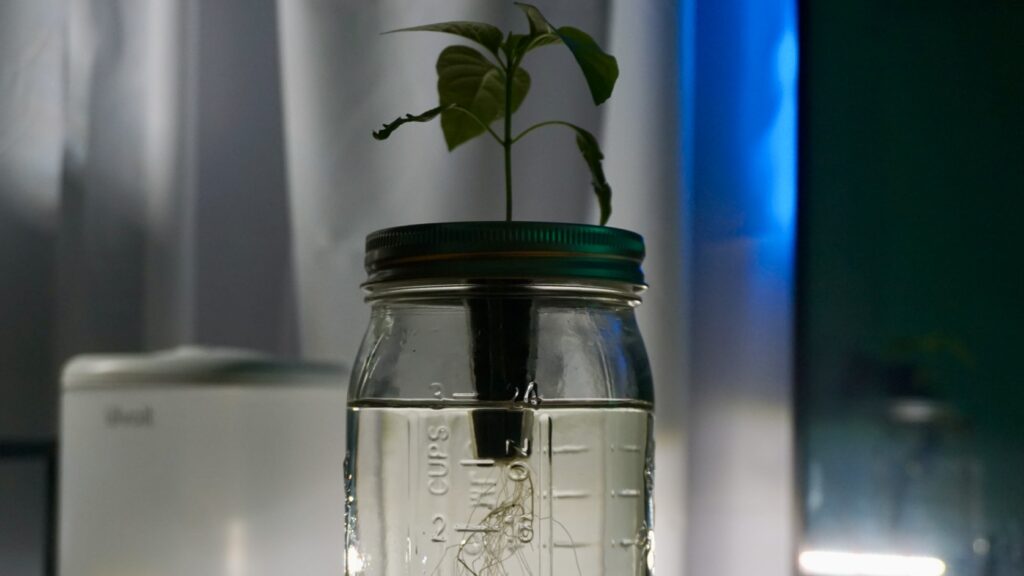
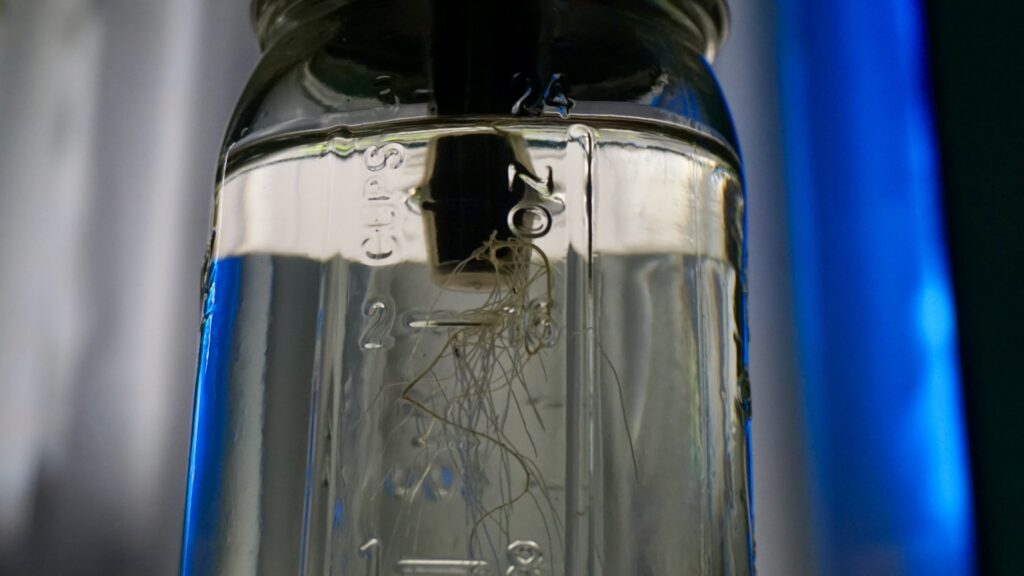
What I love about this method is having easy access to viewing the roots. In addition to the lids and sleeves, I bought a seed pod kit that includes 35 grow sponges, grow baskets, domes and pod labels. The same pack of 12 wide mouth mason jars that I ordered can be found here.
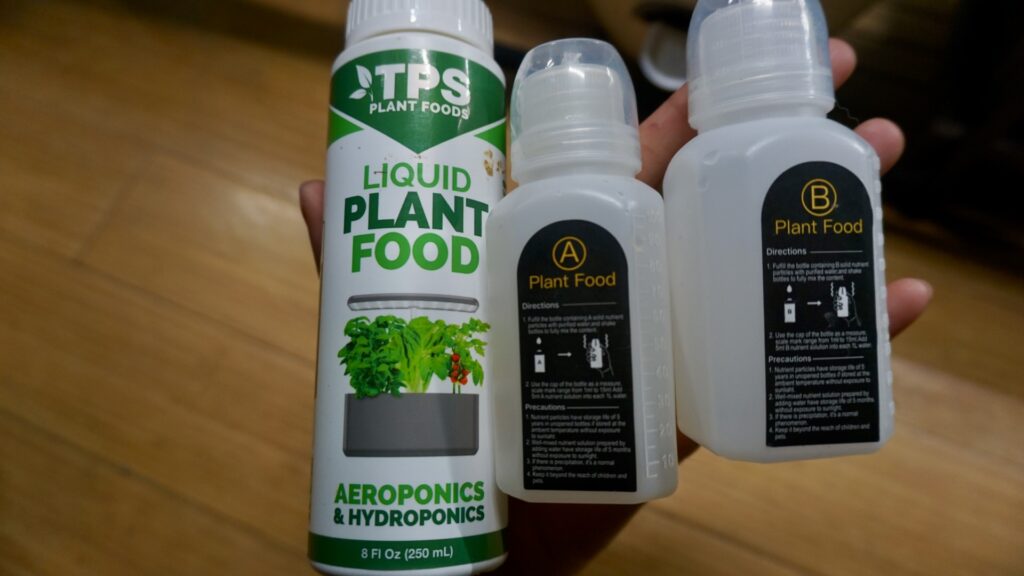
The last thing you need is a nutrient rich plant food. There are so many out there so do your research and see what works best for you. The plant food on the right was from my RainPoint hydroponic growing system. The food on the left can be found on Amazon here. For these jars to thrive they need to have at least 6-8 hours of sunlight per day.
Other helpful items that I have in my indoor garden include grow lights to accelerate growth and a pH meter to accurately monitor the nutrient rich water. Plants need a certain pH level so refer to the plant pH preference list here. These items are optional but do help substantially so consider buying them. Experiment and see how well your plants grow in a window sill with natural light vs with a grow light. Happy sprouting!
Equipment
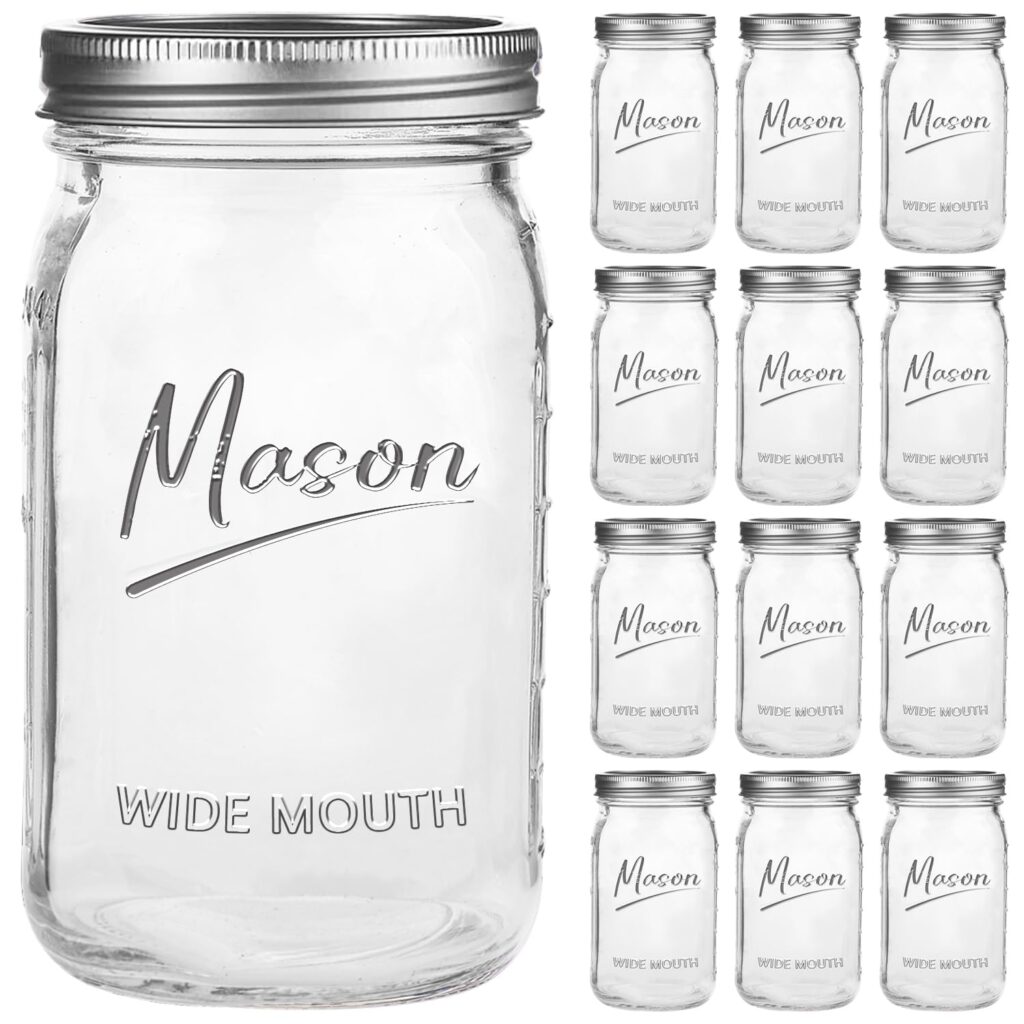
Glass Mason Jars (Pack of 12), Clear | 32 oz, 1 Quart BUY HERE
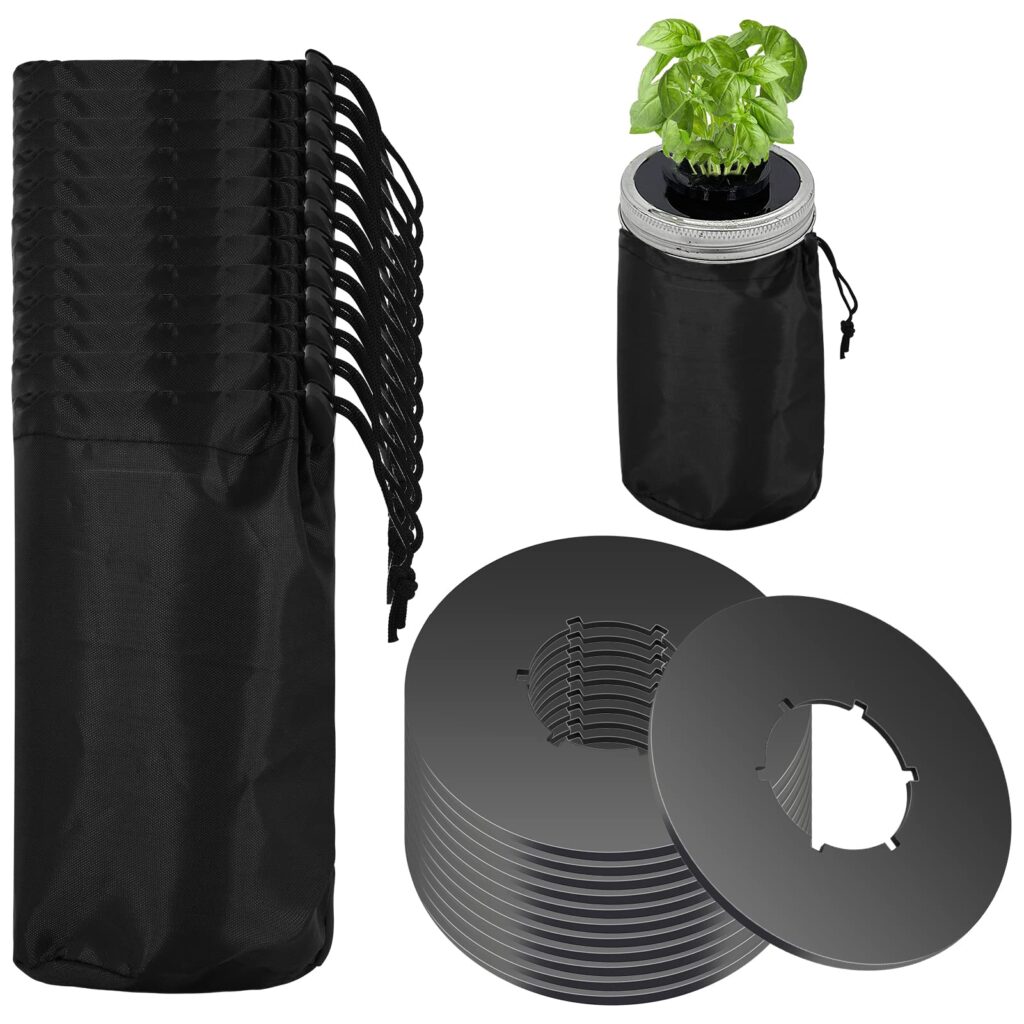
12 Pcs Kratky Mason Jar Lids with Blackout Sleeves BUY HERE
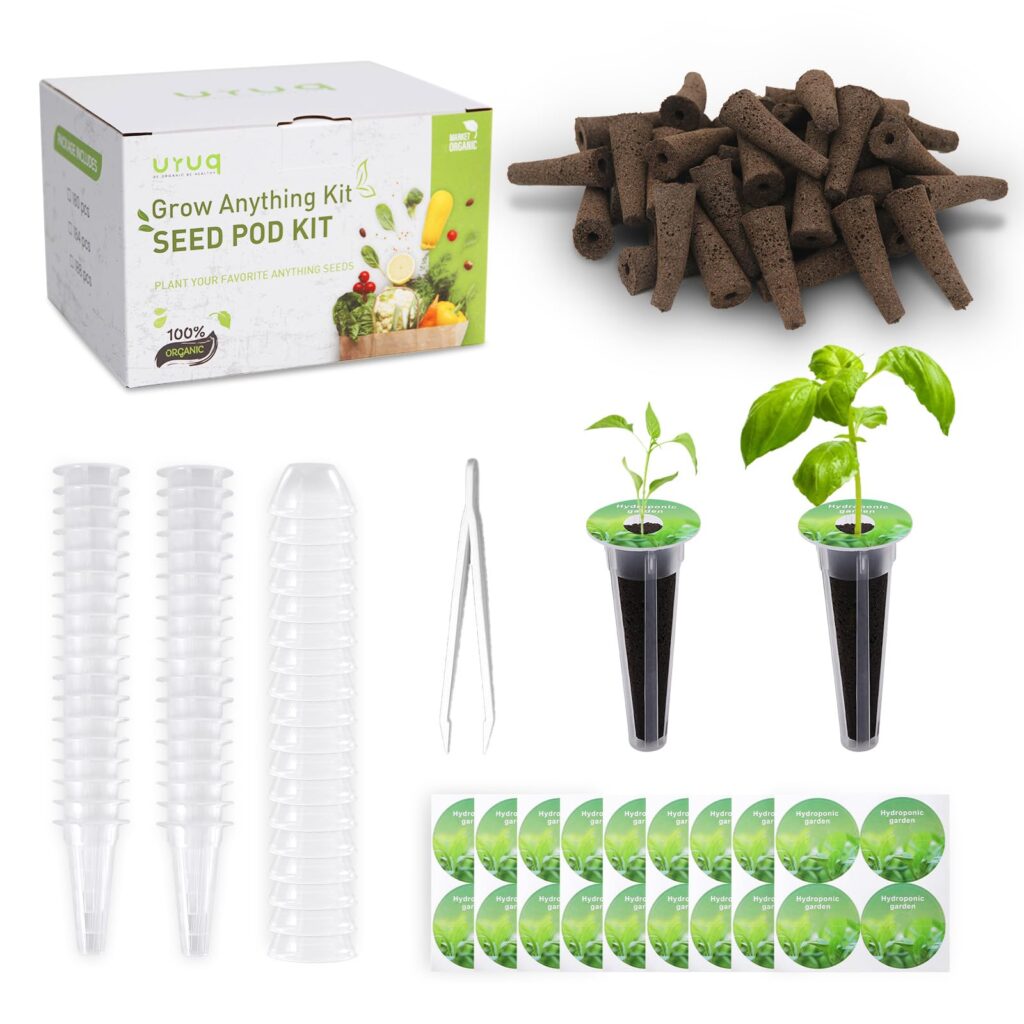
140 Pcs Hydroponic Pods Supplies with 35 Grow Sponges, 35 Grow Baskets, 35 Grow Domes, 35 Pod Labels BUY HERE
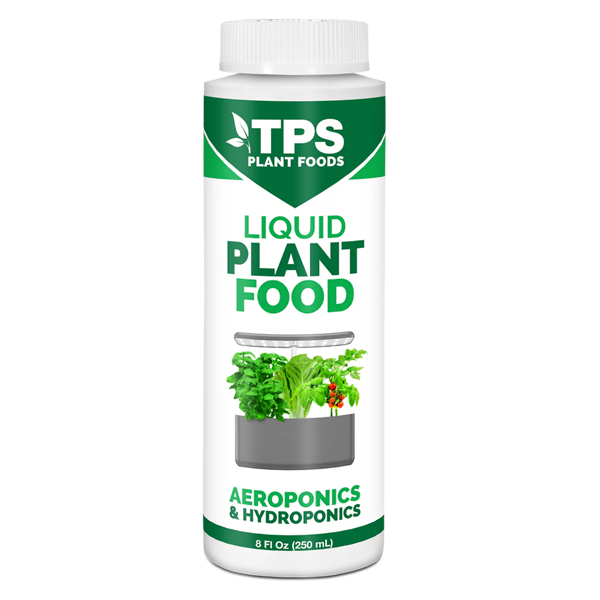
TPS Plant Foods Liquid Plant Food for Aeroponics and Hydroponics 8 Fl oz BUY HERE
What should you grow using the Kratky Method?
It’s recommended to start by growing herbs and leafy greens in this size jar and work your way up to fruiting plants in larger containers.
Comments are closed.